Send a dashboard as a scheduled e-mail
You want a dashboard snapshot — PDF, Excel, or PNG — to land in someone's inbox on a schedule. A daily executive summary, a weekly team report, an end-of-month investor update, that sort of thing.
Steps
1. Open the schedule dialog
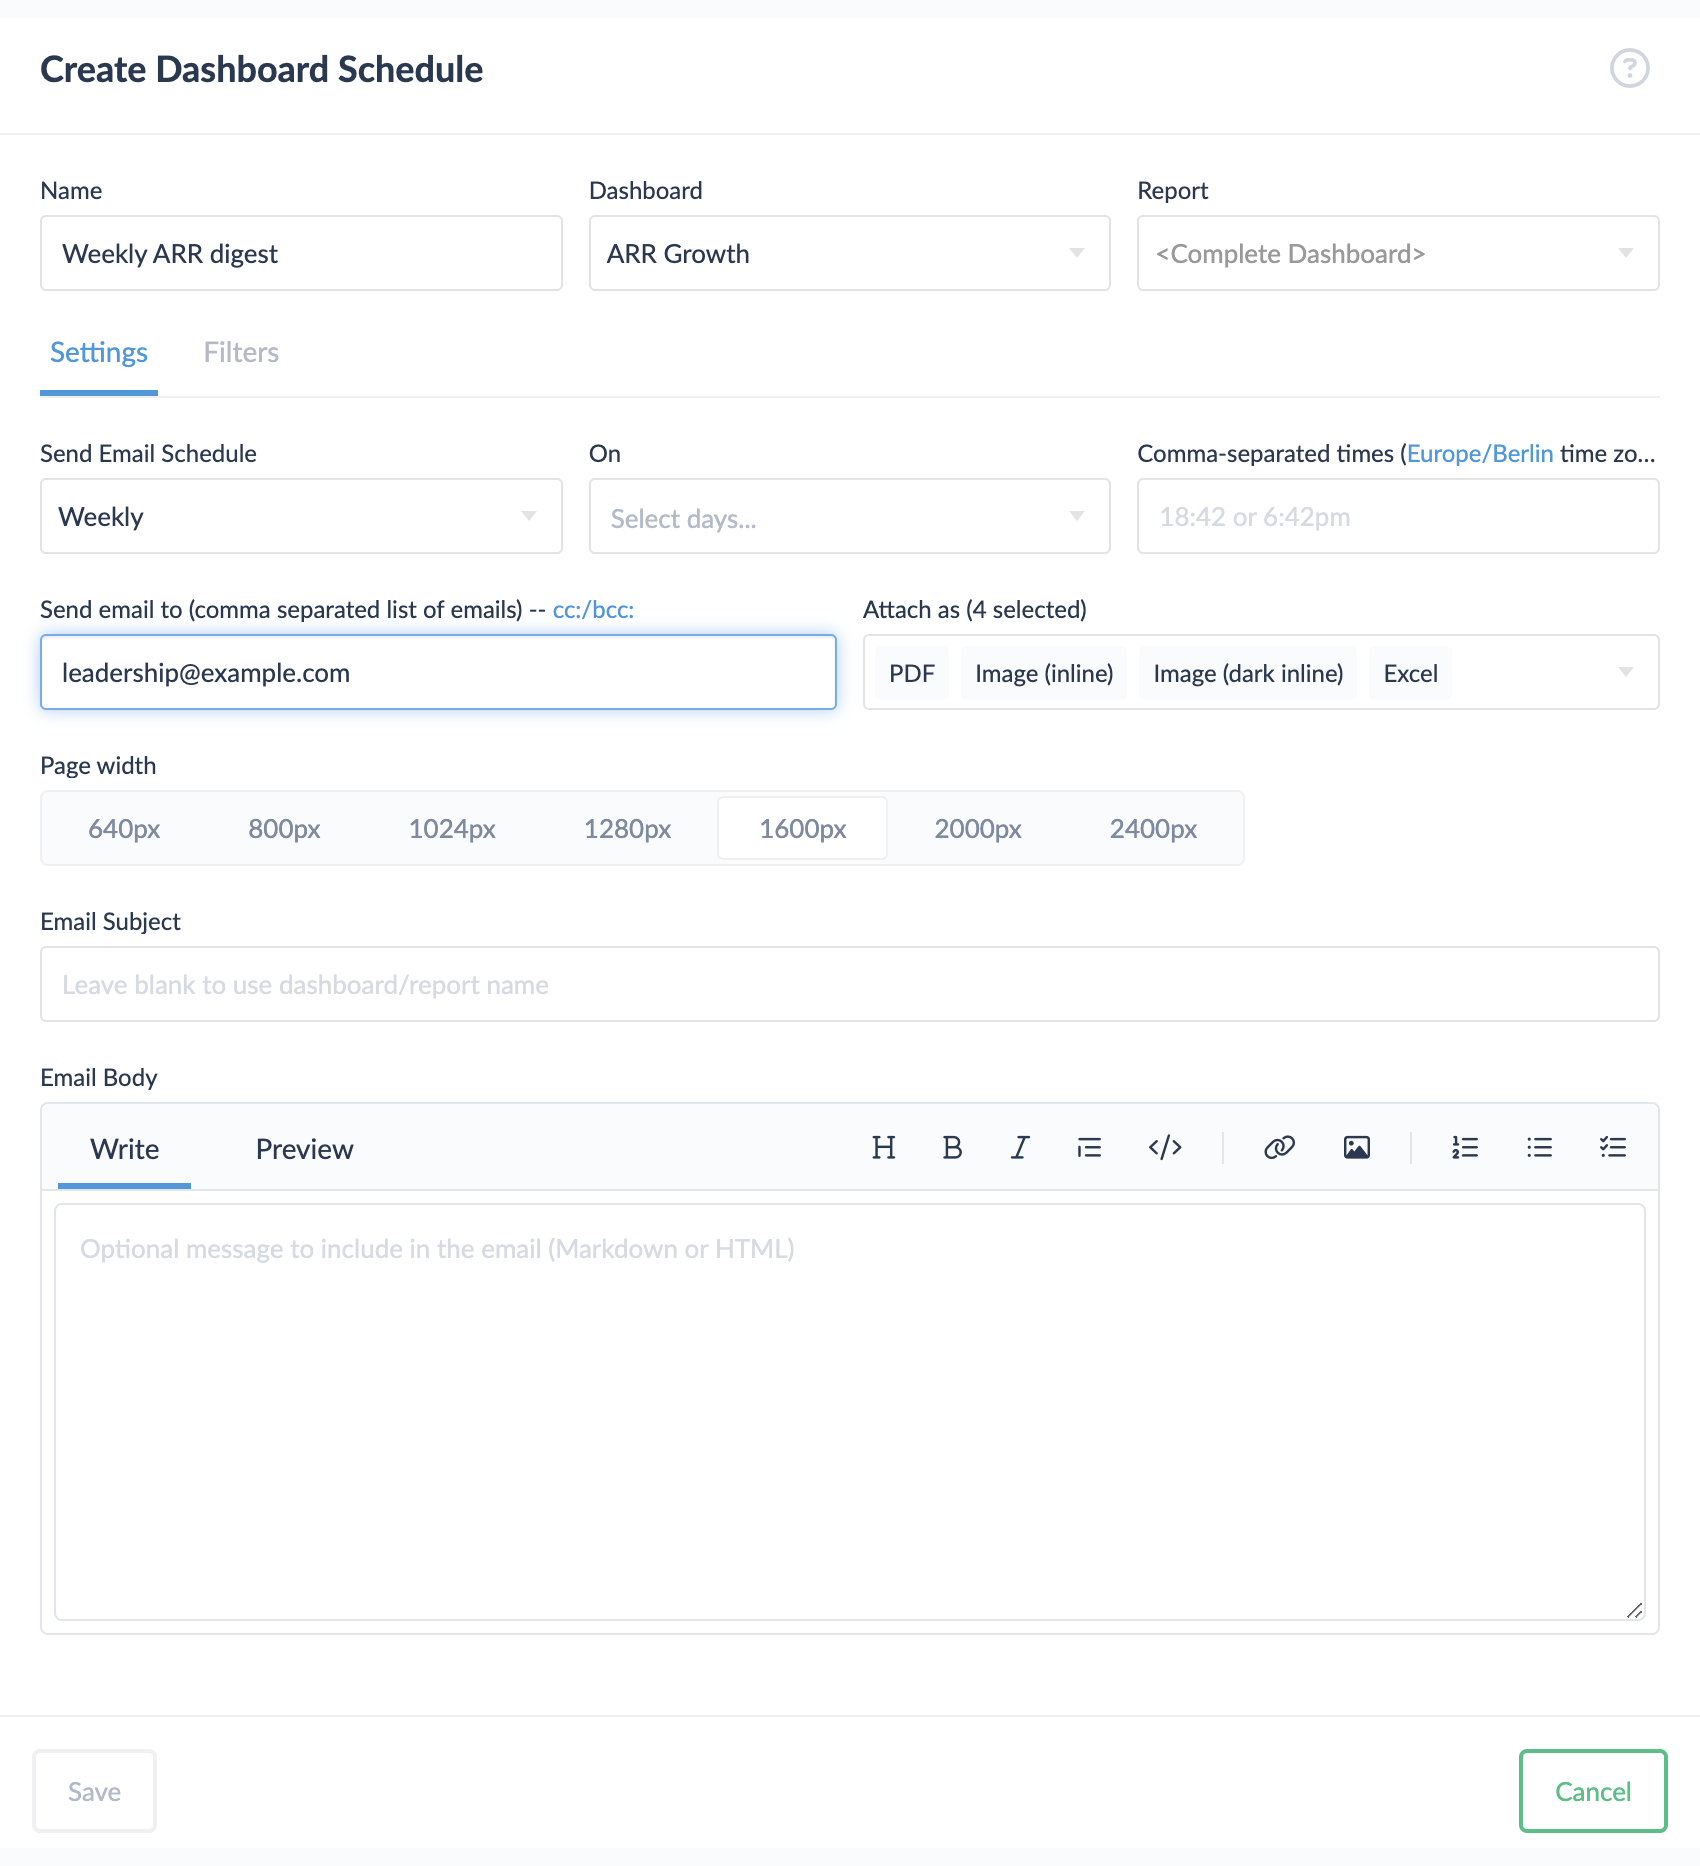
From the dashboard actions menu, select Share via Email. The schedule editor opens with the dashboard pre-filled.
2. Pick a delivery cadence
The schedule controls when the snapshot is generated and sent:
- Daily at a specific time.
- Weekly on chosen weekdays at a specific time.
- Monthly on a chosen day of the month.
- Custom interval (every N hours).
All times are interpreted in the organization time zone, so a 9:00 daily delivery means 9:00 in your organization's zone, not the recipient's.
3. Choose what to send
Under Attachments, pick one or more of:
- PDF — best for distribution.
- Excel — for recipients who want to dig into the numbers.
- PNG image — quick visual digest.
Each format is generated at the dashboard's current default filter values, unless you save a specific filter combination on the schedule (see below).
4. Configure filter values to use
By default the schedule renders the dashboard with the current filter values you have selected when creating the schedule. If you want the schedule to keep using whatever the current dashboard defaults are at delivery time, choose Use dashboard defaults.
For one-off captures of a specific filter combination (e.g. always "the European region"), set the filters before opening the schedule dialog — the chosen values are saved with the schedule.
5. Add recipients
Enter recipient e-mail addresses (comma-separated for multiple). You can include CC and BCC lists too.
A schedule can include people who are not Cluvio users. They receive the attachment without needing an account.
6. (Optional) Send a test
Use Send Test E-mail to deliver one immediate copy to yourself or another recipient. This is the quickest way to verify the schedule, the filters, the attachment formats, and the recipient configuration all look right before the schedule starts.
7. Save
Save the schedule. From this point on, the dashboard runs at the chosen times and the attachments go out. You can edit, pause, or delete the schedule from the Schedules overview at any time.
Delivering to a Slack channel
Slack accepts e-mails to a special Email App address per channel. To set this up:
- In Slack, open Settings & administration → Manage apps, add the Email app to your target channel, and copy the e-mail address Slack hands you.
- Use that address as the recipient in step 5.
Slack will post the e-mail (and attachments) into the channel each time the schedule fires.
Related
- Reference: Scheduled E-Mails — full description of the schedule editor, retention, and troubleshooting.
- Reference: Dashboard Actions → Share via Email.
- How-To: Restrict who can see a sharing link — for live delivery rather than scheduled snapshots.