Embed a dashboard scoped per customer
You want every customer signed into your product to see their own data inside a single Cluvio dashboard you've built. This guide walks through the whole flow end-to-end.
This guide assumes the Business plan (which unlocks
sharingSecret + fixed_parameters on sharing links). See
Pricing.
What you'll end up with
A Cluvio dashboard embedded as an iframe in your application. For each signed-in user, your backend signs a short-lived JWT containing the user's identifier; that identifier becomes a fixed filter value, so the dashboard only ever shows data the user is allowed to see.
Your customer → Your app → <iframe>  →  Cluvio
                              ↑
                  sharingSecret JWT signed by your backend,
                  carrying e.g. { user_id: 12345 }
Steps
1. Make the dashboard filterable by user
Pick the column in your data that identifies who a row belongs to —
usually a user_id, tenant_id, account_id or similar. Create a
custom filter that filters by that
column, and apply the filter to every report on the dashboard.
In each report's SQL query, use the filter in the WHERE clause:
SELECT
  COUNT(*) AS orders,
  DATE_TRUNC('day', placed_at) AS day
FROM orders
WHERE {placed_at=date_range}
  AND {customer_id=user_id}    -- <-- our custom filter
GROUP BY day
ORDER BY day
Save and verify in Cluvio that switching the filter value through the toolbar correctly filters the data.
2. Create a sharing link with the right settings
In Cluvio, open the dashboard's Manage Sharing page and add a new sharing link. On the link's Settings tab, configure:
- Allow User to Change Filters: on (the JWT supplies values via URL parameters, which requires this).
- Require Sharing Secret: on (every viewer must arrive with a valid JWT).
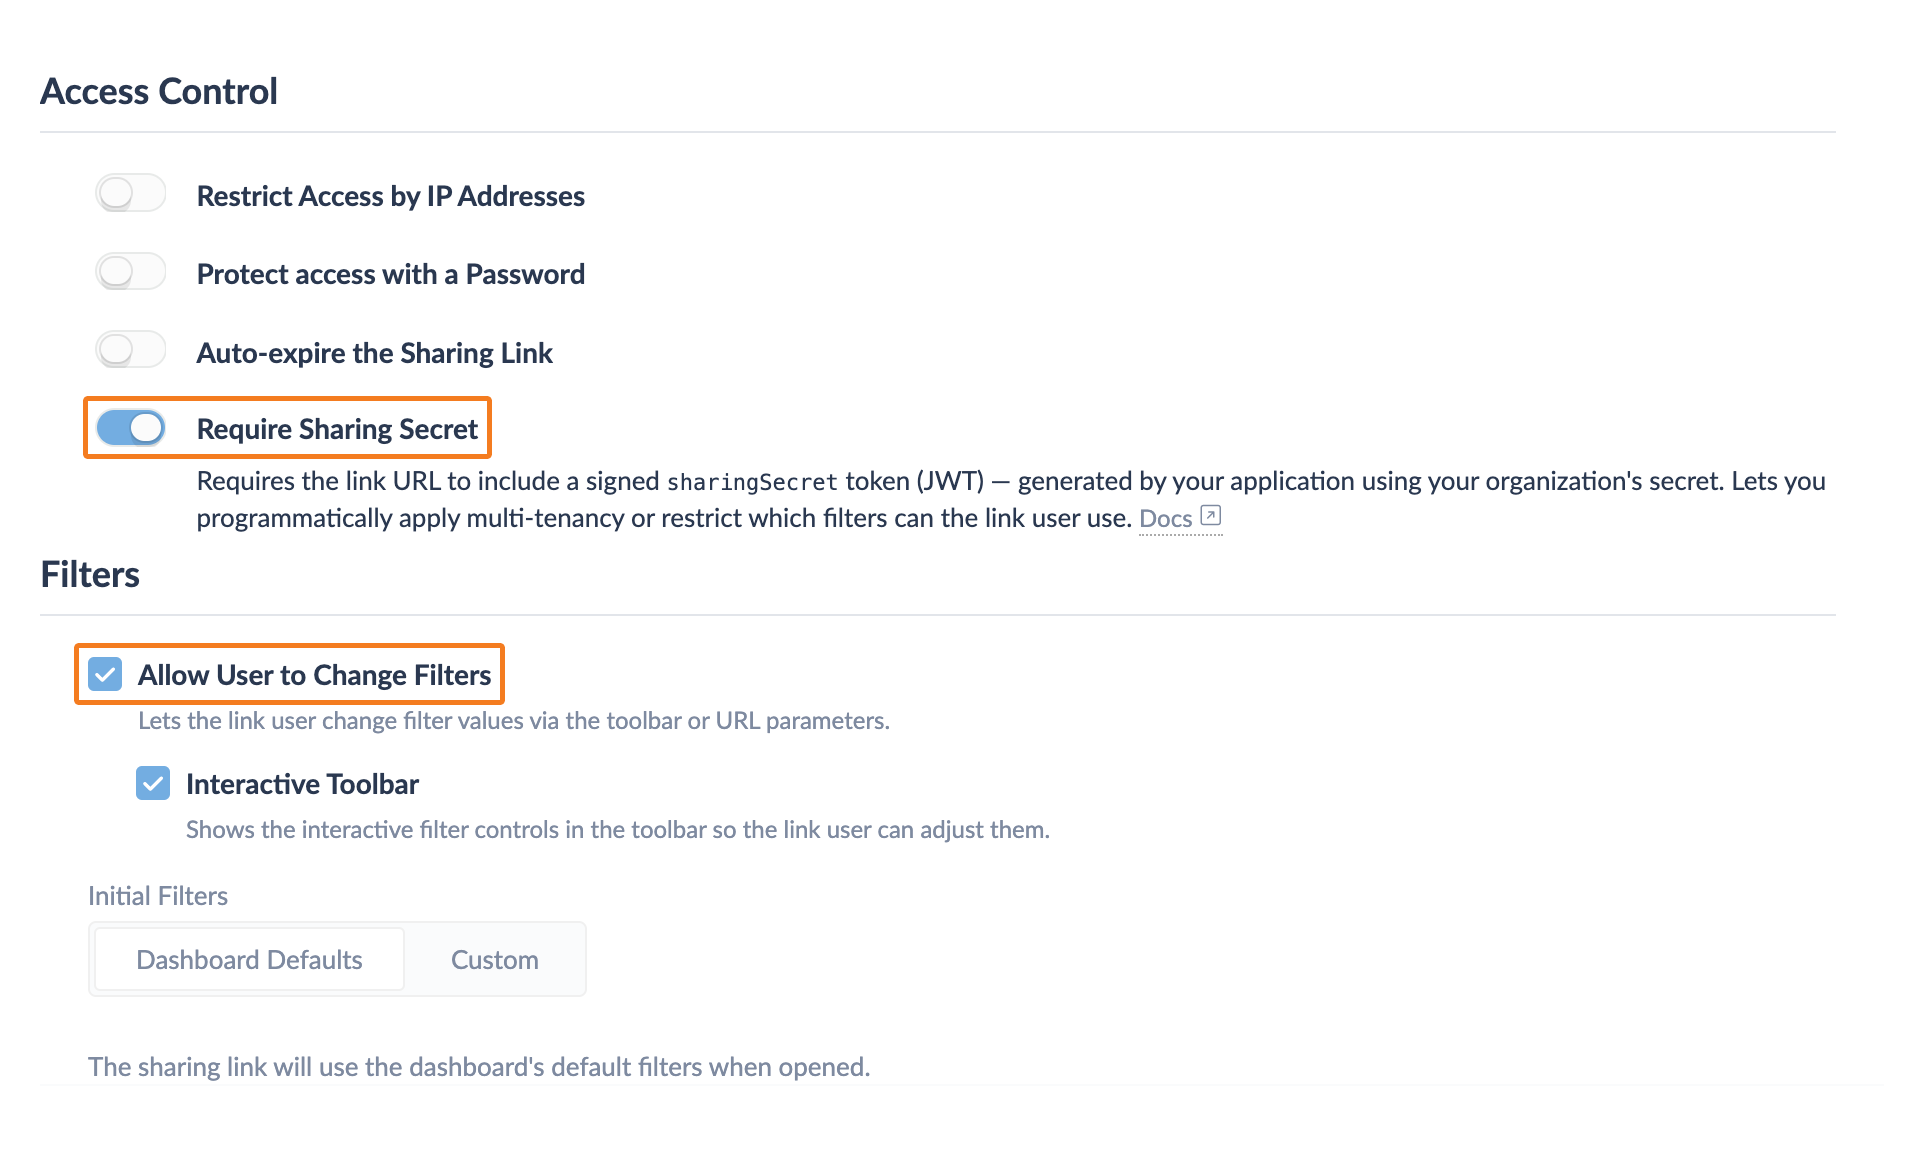
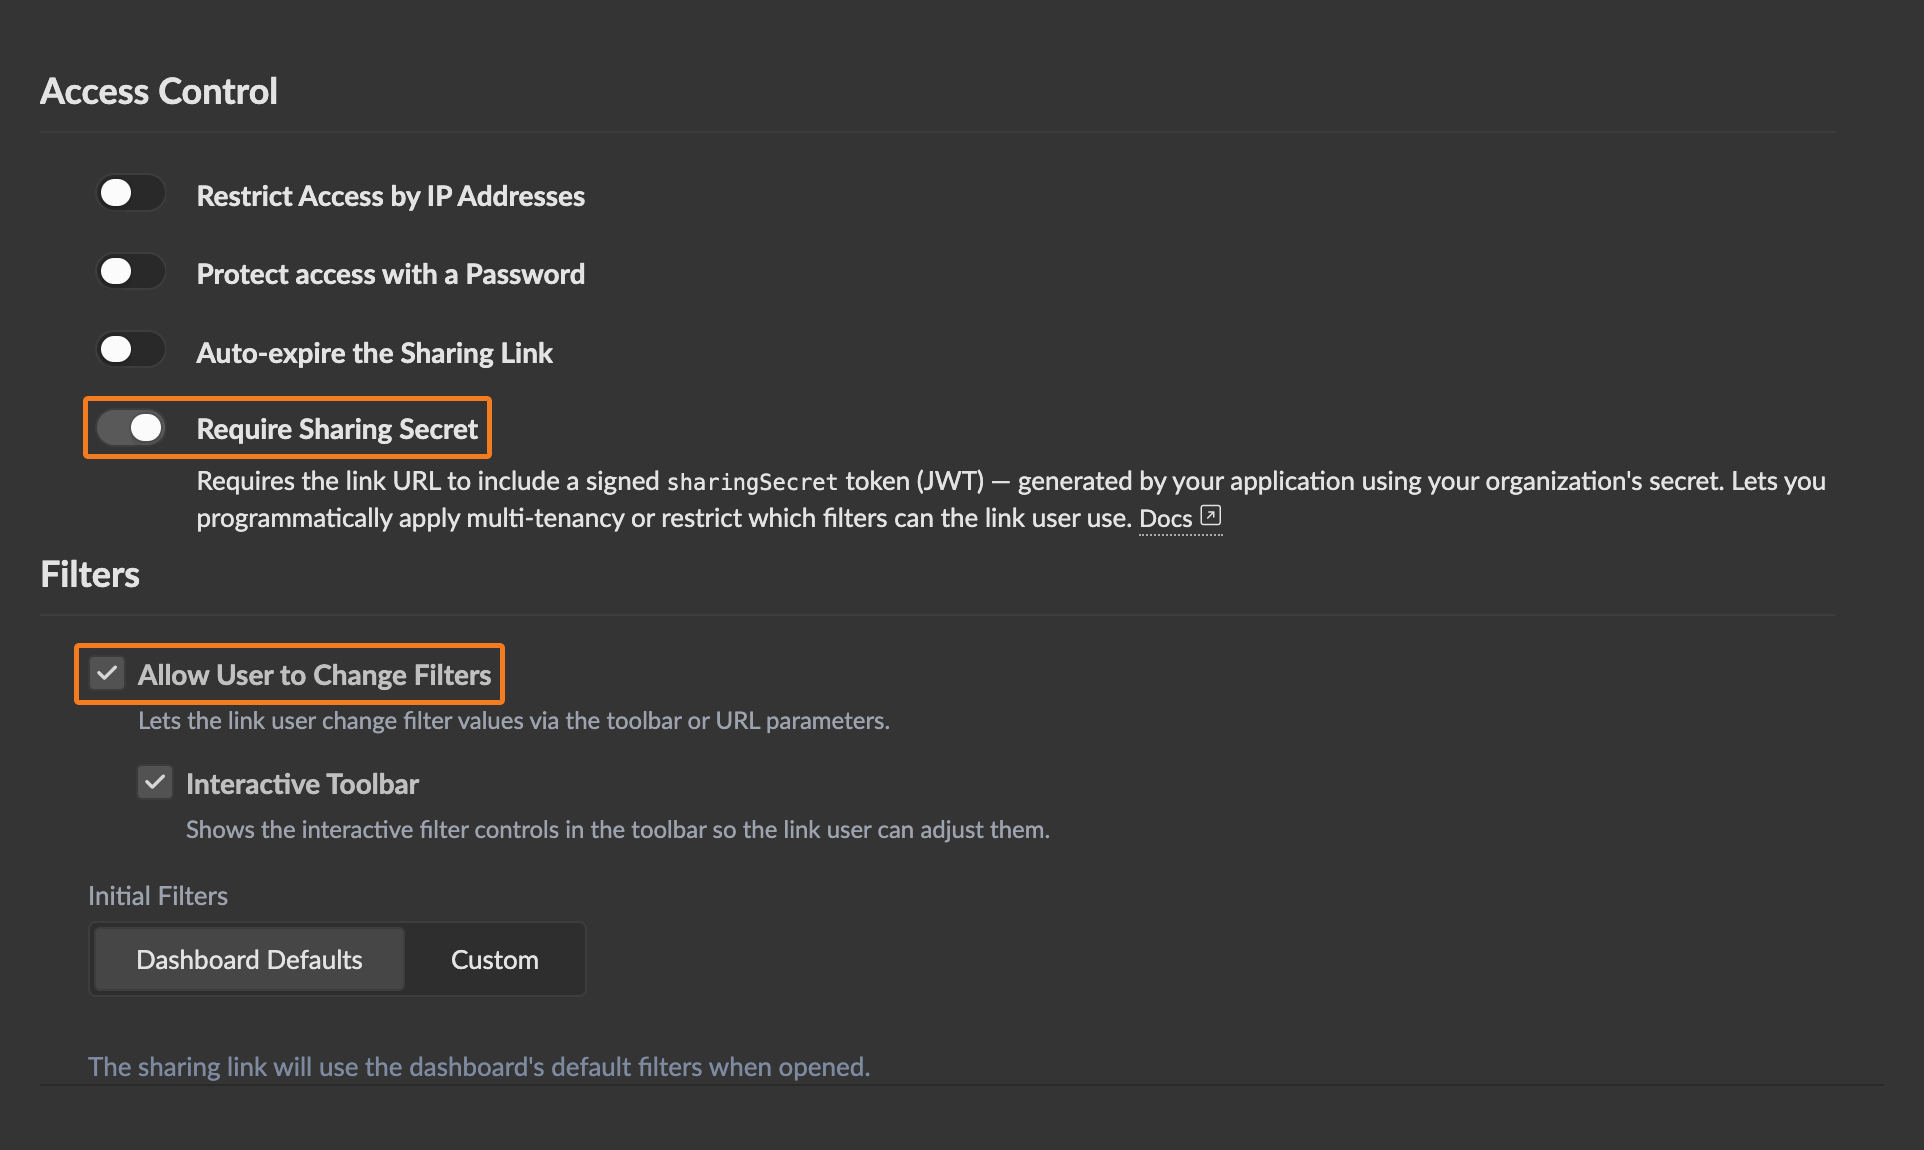
Save the link. You'll land on its Info tab, where the URL is
displayed with a red <sharing_secret> placeholder that your backend
will fill in per request.
3. Grab your Embed Secret
Go to Admin → Organization →
Embed Secret. Copy the
secret into a server-side environment variable named (by convention)
CLUVIO_EMBED_SECRET.
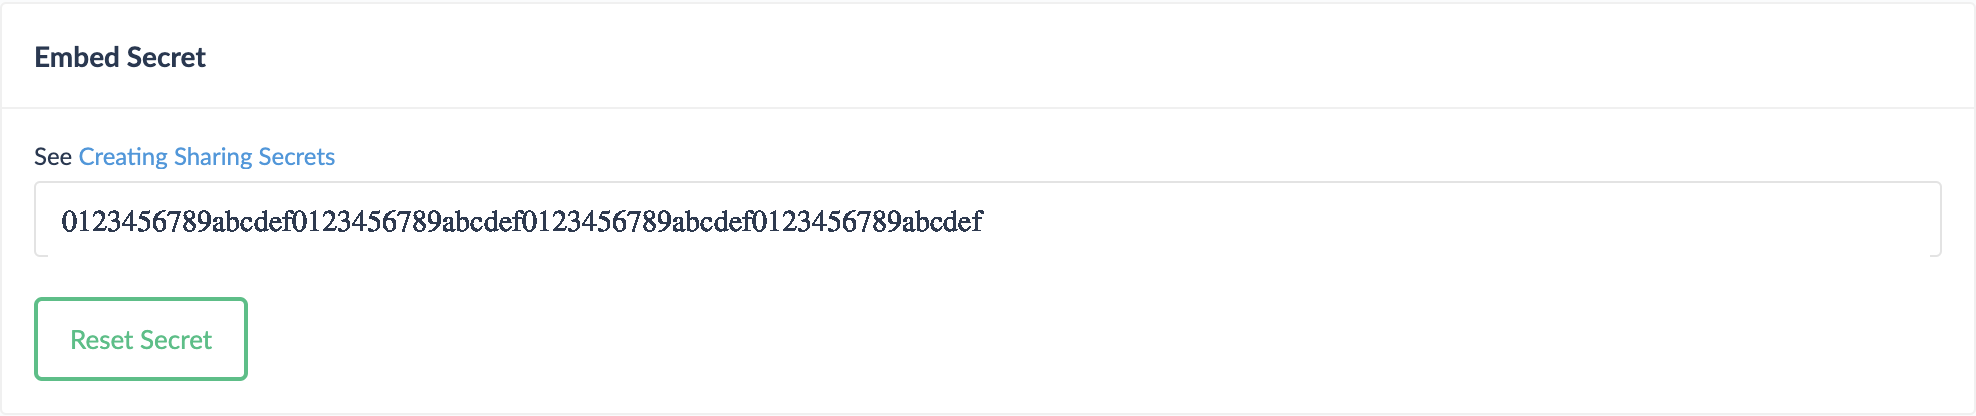
The Embed Secret must never be exposed to your application's frontend or end users. Sign the JWT on your backend; ship only the signed JWT to the browser.
4. Sign the JWT from your backend
Pick the language sample that matches your backend on the link's Info
tab → Sharing Secret (JWT) section. Each sample loads the secret from
CLUVIO_EMBED_SECRET and signs a payload like:
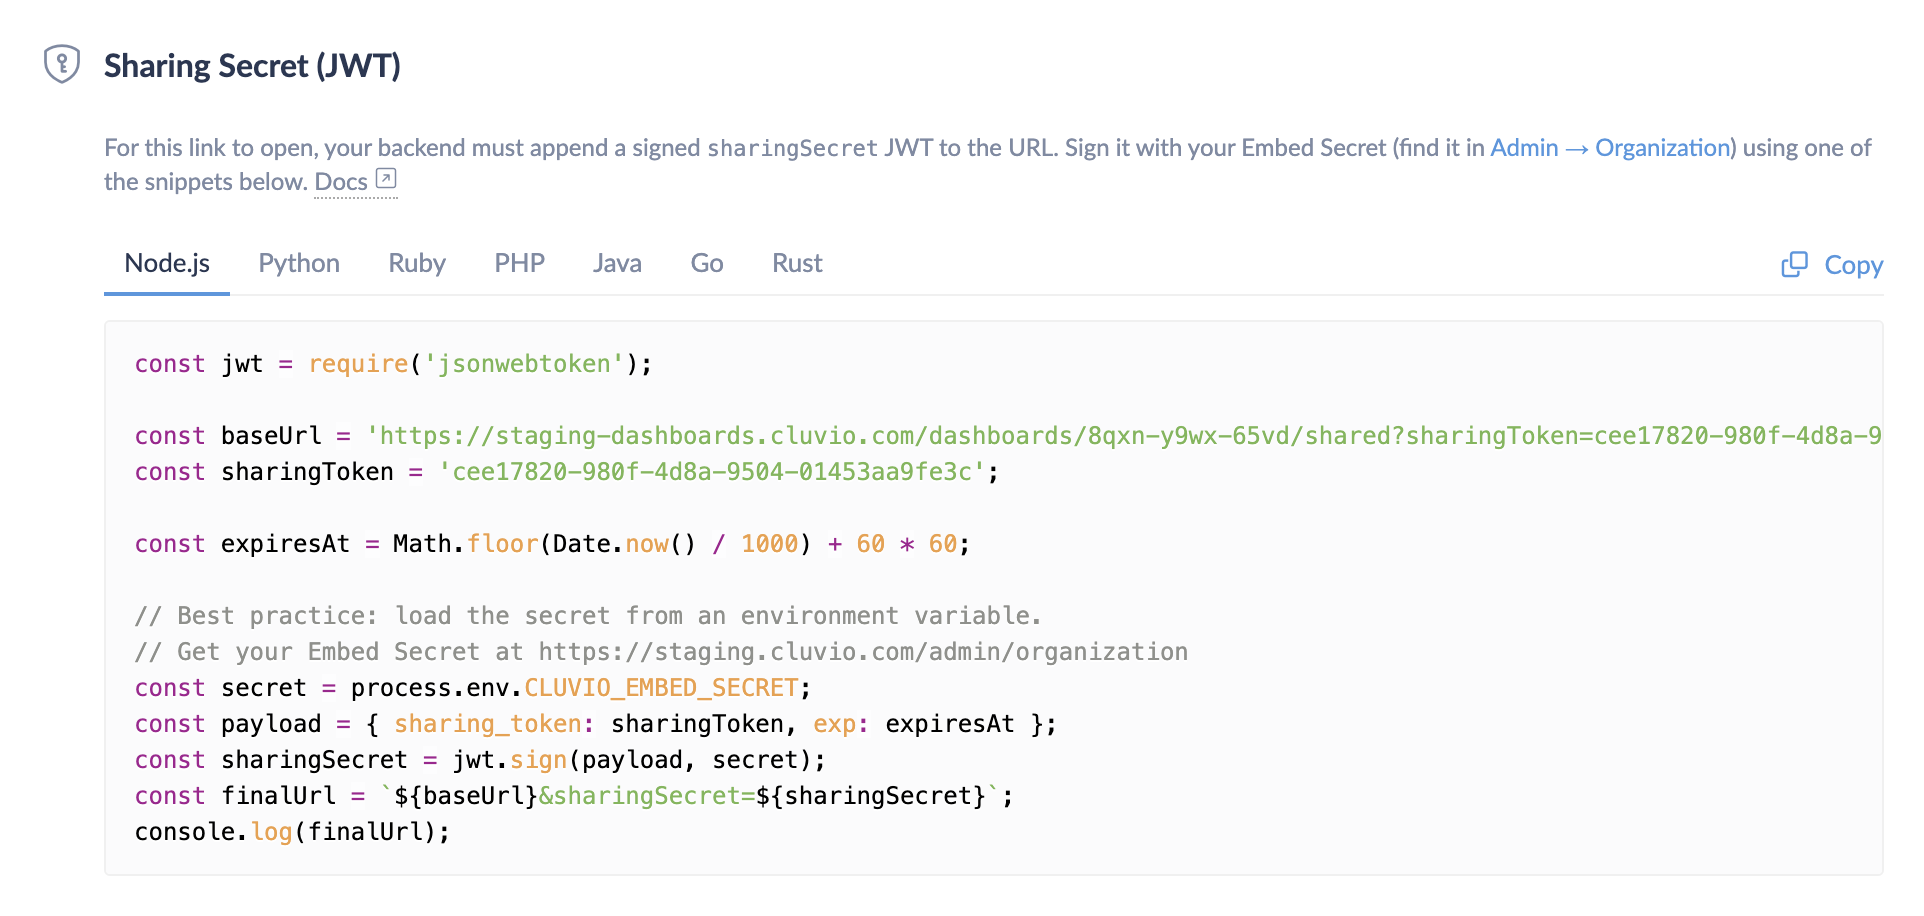
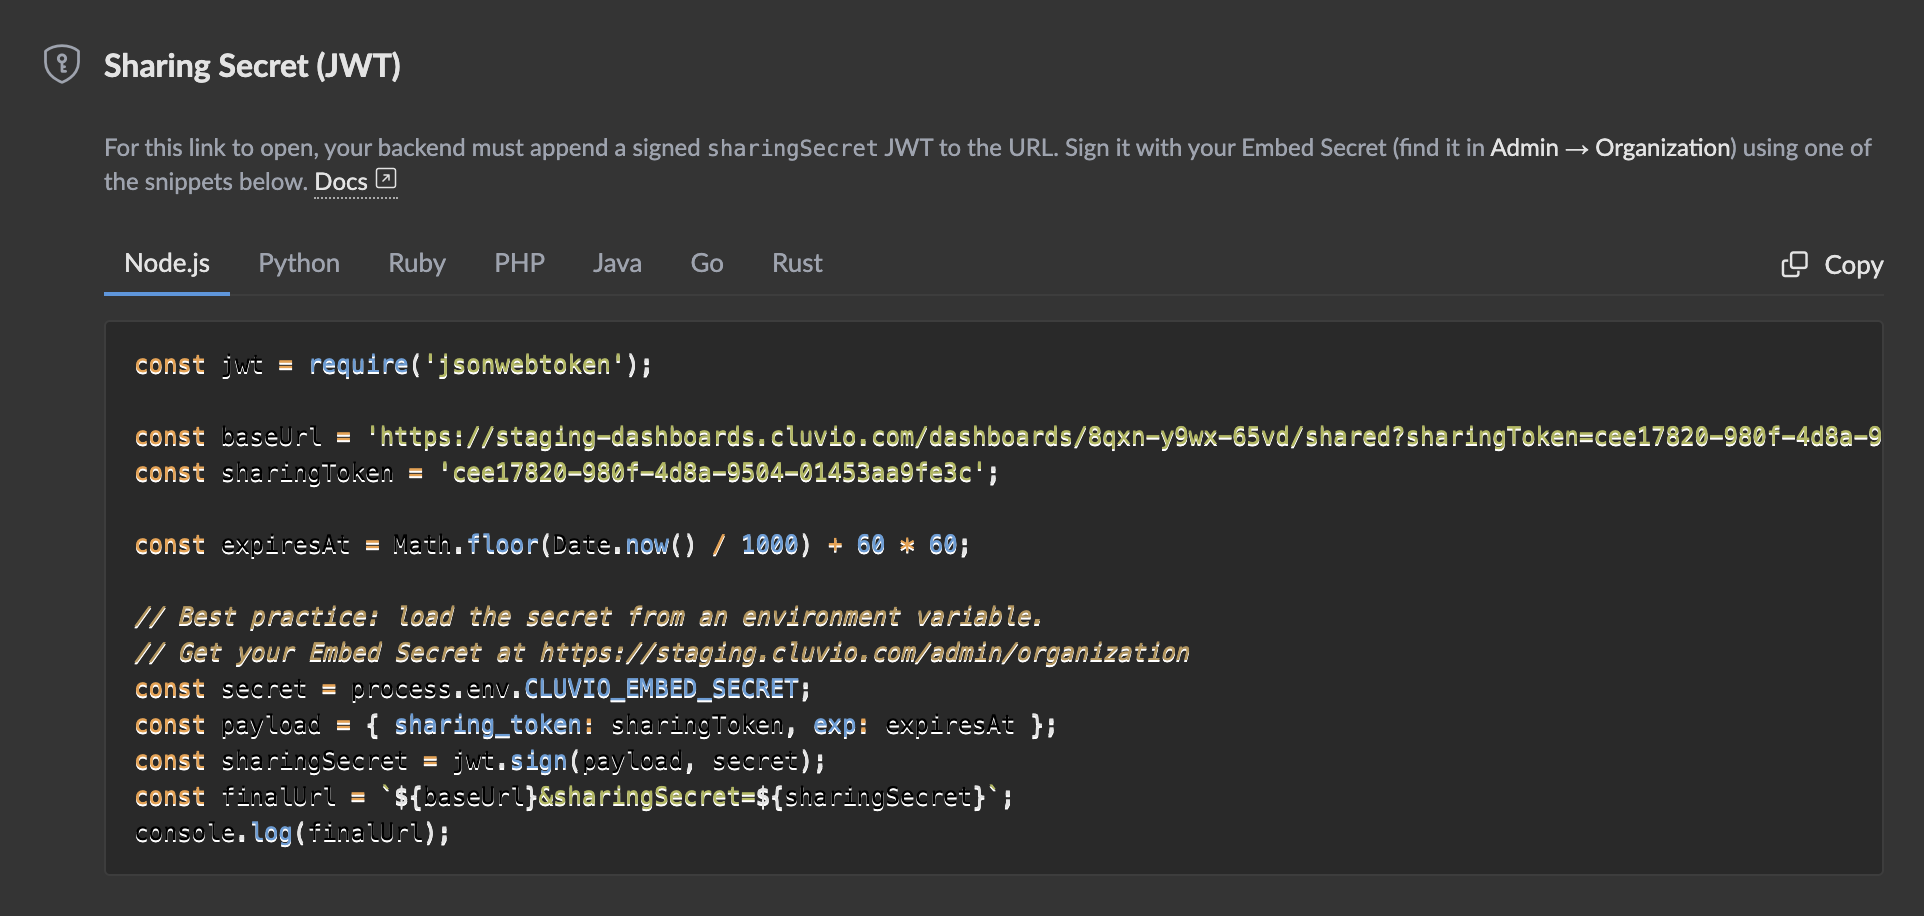
{
  "sharing_token": "<from the link URL>",
  "exp": <now + 1 hour, as unix timestamp>,
  "fixed_parameters": {
    "user_id": ["<the signed-in user's id>"]
  }
}
fixed_parameters is the magic ingredient: the keys are the filter
variable names (e.g. user_id), and the values are restricted to
those listed. The link viewer can change date_range but can't change
or remove user_id.
The result is the sharingSecret you append to the link URL:
https://dashboards.cluvio.com/dashboards/.../shared?sharingToken=...&sharingSecret=<your JWT>
5. Embed the iframe
On the page where your customers see the dashboard, render the iframe
with src set to the URL above. The Embed Code section on the link's
Info tab gives you a ready-to-paste snippet.
<iframe
  src="<sharing link URL with sharingSecret>"
  width="100%"
  height="600"
  frameborder="0"
></iframe>
6. Renew the secret before it expires
Because the JWT is short-lived (you set exp to e.g. 1 hour), it'll
eventually expire. When it does, the iframe posts a
secretExpired message
to its parent window. Handle it by fetching a new JWT from your backend
and posting an
updateSharingSecret
action back into the iframe.
See Updating Sharing Secrets for the diagram and complete flow.
Related
- Reference: Embedded Analytics — full explanation of every embedding mode.
- Reference: Sharing Links → Settings → Access Control — every link configuration option.
- Reference: Filters — building filters that your queries can use.