User Groups
User groups are available on the Business plan (see Plans Comparison). On the Pro plan, dashboards can be shared with built-in groups only — see Dashboard Sharing below.
User groups let you organize the members of your Cluvio organization and control which dashboards each group can access. Instead of sharing a dashboard with every user individually, you share it with a group once, and all current and future members of that group automatically gain access.
Built-in Groups
Two groups exist in every Cluvio organization:
- All Users — every active user in the organization, regardless of role. Sharing a dashboard with this group makes it accessible to all Admins, Analysts, and Viewers.
- All Analysts — every active Admin and Analyst. Sharing a dashboard with this group gives access to users who can create and edit dashboards, but not to Viewers.
These groups update automatically as users are added, removed, or have their roles changed. They cannot be deleted, renamed or have their membership manually edited.
Custom Groups
Custom groups are named collections of users that you define. Common use cases include:
- Organizing users by team, department, or function (e.g., "Sales", "Engineering", "Finance")
- Granting dashboard access to external stakeholders such as investors or customers
- Creating permission boundaries between different parts of your organization


The list shows each group's Members and Dashboards counts, and you can sort by clicking the Group, Members, or Dashboards column header.
Creating a Group
Select Add Group on the User Groups page. Enter a name and, optionally, a description, then save. The group is created empty and ready for members and dashboards to be added.
Deleting a Group
Open the group's detail page and scroll to the Danger Zone section. Select Delete User Group. Deleting a group removes all its members' access to dashboards that were shared exclusively through this group.
User Group Detail Page
Clicking a group's name opens its detail page, which shows two sections: Members and Dashboards.
The group name and description can be edited inline for custom groups by clicking the pencil icon or clicking directly on the text.
Members Section

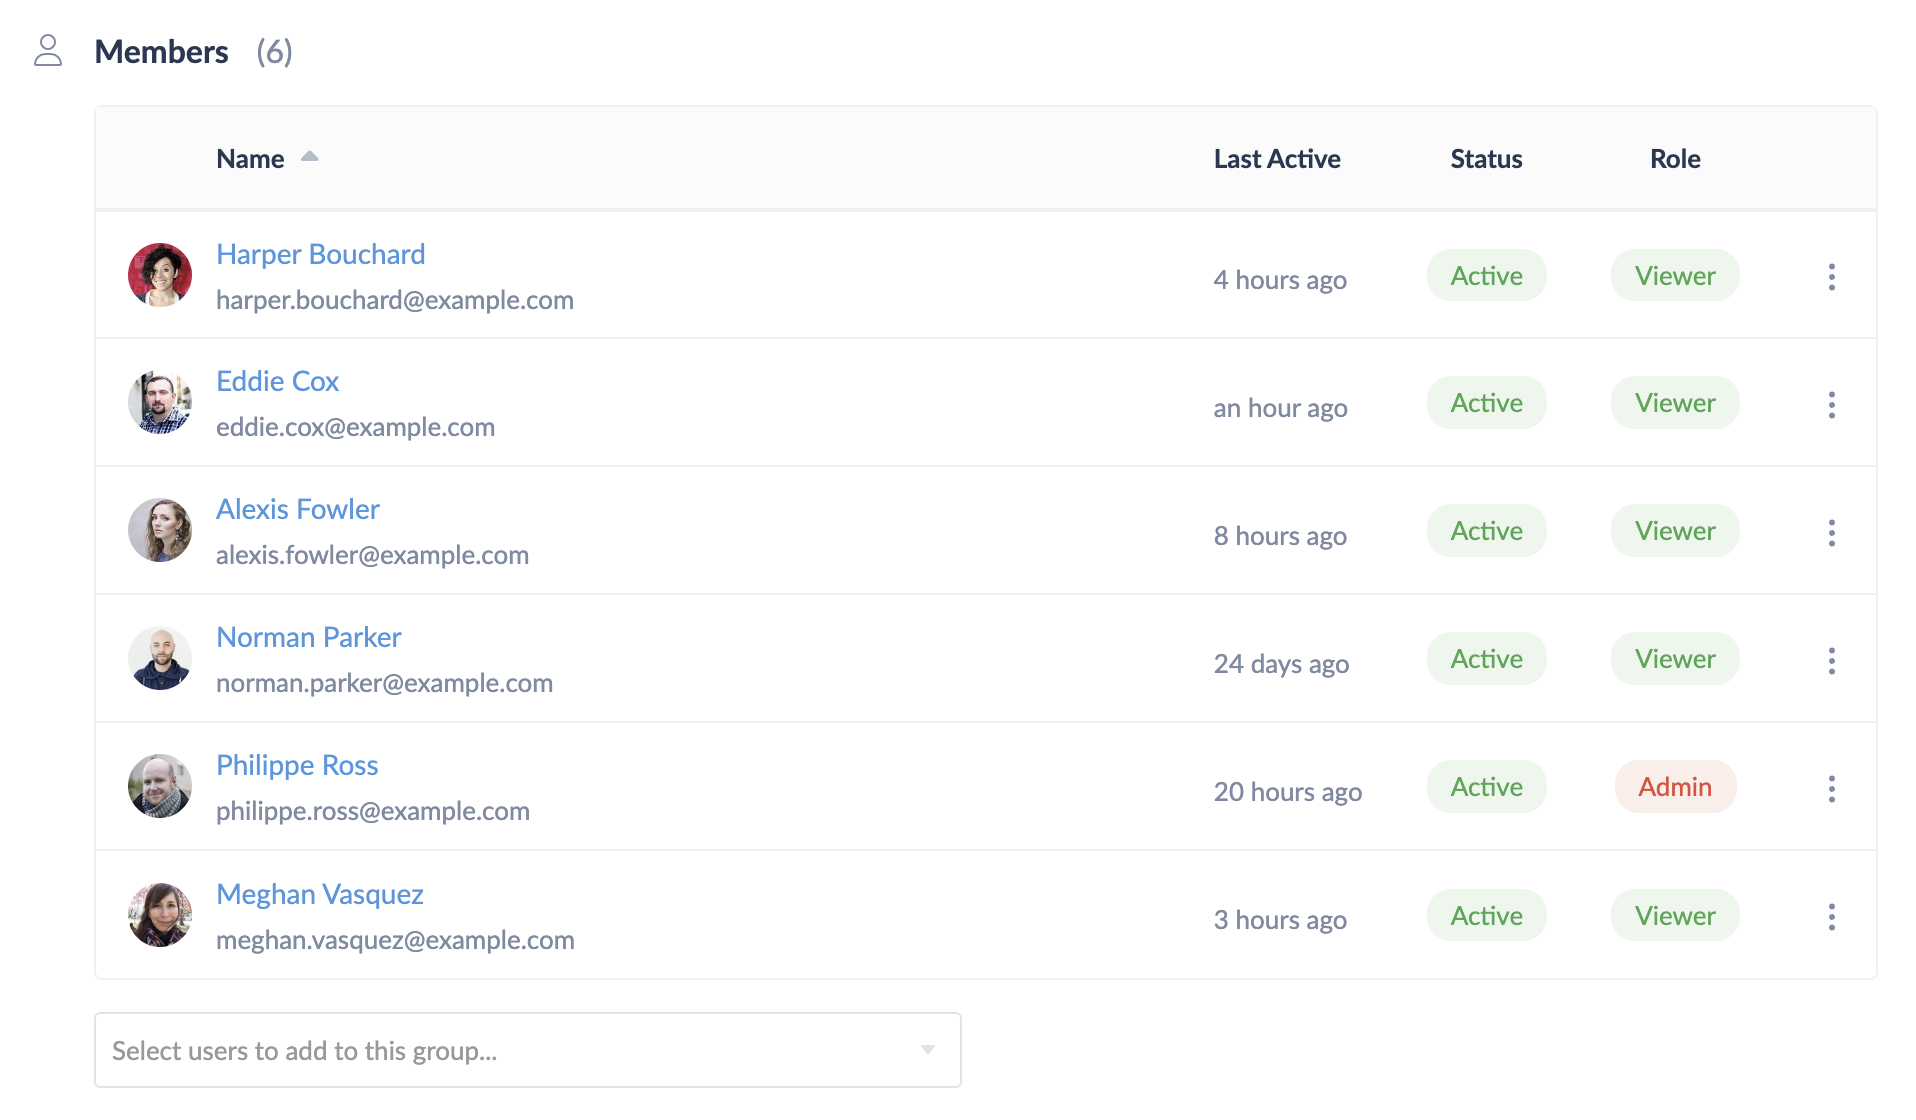
The members table shows everyone currently in the group. Columns:
- Name — links to the user's user card. Click the name to drill into a full user card view within the group context.
- Last Active — when the user last used Cluvio
- Status — Active, Invited (pending), or Inactive badge
- Role — Admin, Analyst, or Viewer badge
The table supports search (by name or email) and sorting by any column. Pagination appears automatically when there are more than 10 members.
Adding members: Use the search drop-down below the table to select users. Multiple users can be queued in a pending list before saving in a single operation.
Removing a member: Open the row's actions menu and select Remove from Group. This takes effect immediately after confirmation and removes the user's access to dashboards shared exclusively with this group.
Built-in groups (All Users, All Analysts) do not show add/remove controls because their membership is managed automatically.
Dashboards Section

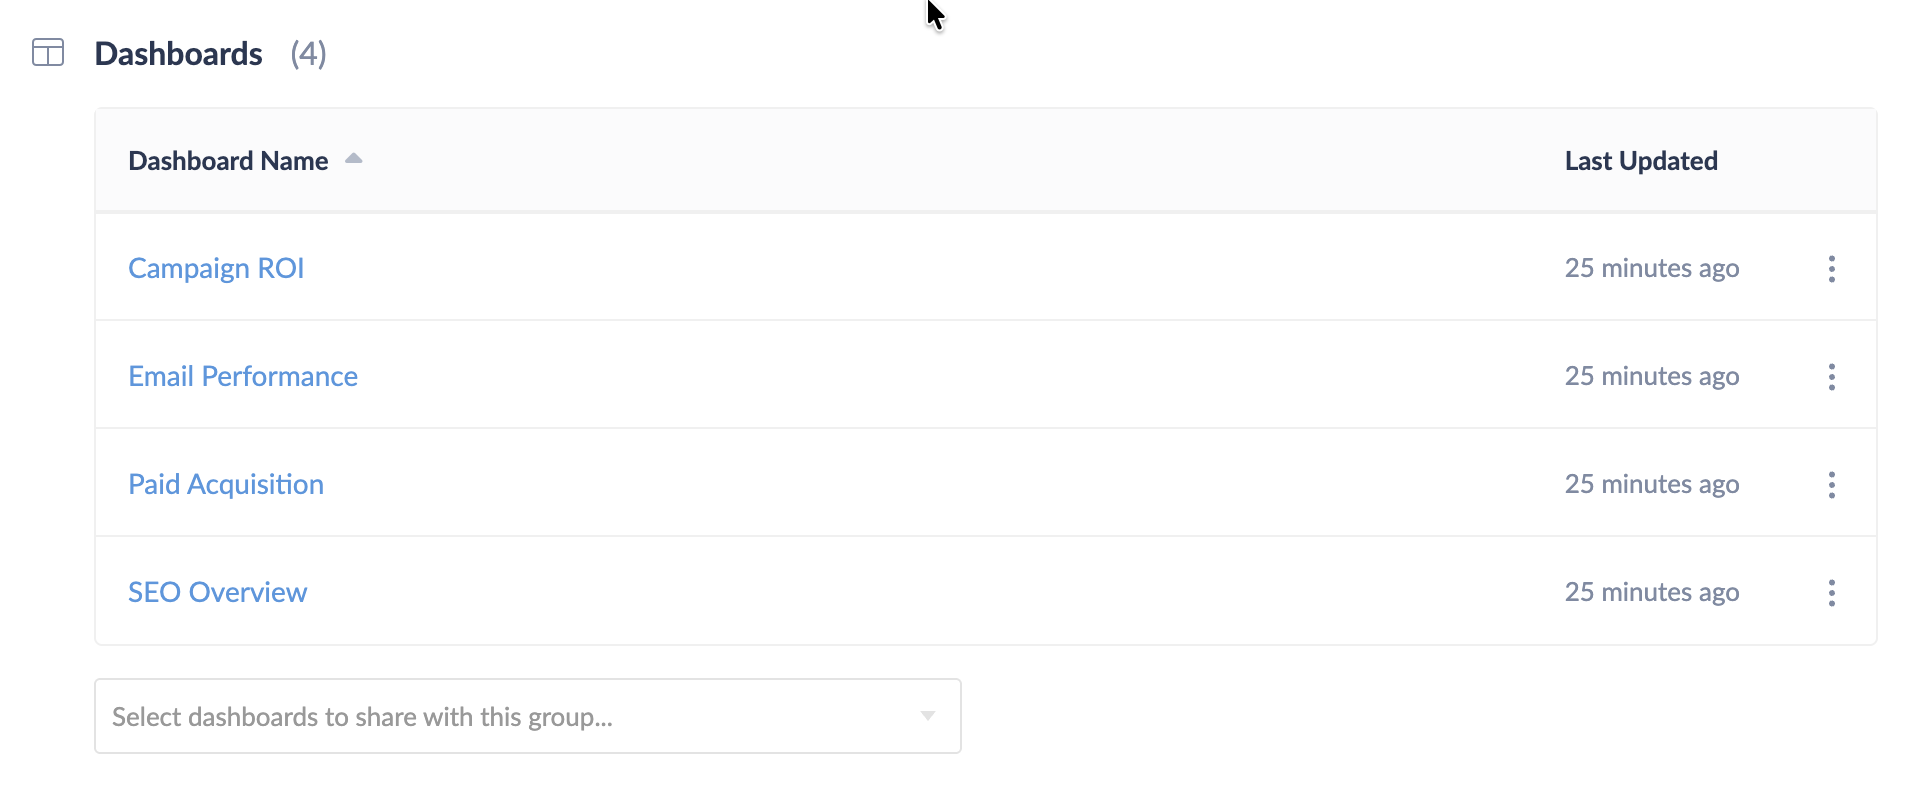
The dashboards table lists every dashboard currently shared with this group. Columns:
- Dashboard Name — links to the dashboard card for that dashboard
- Last Updated — when the dashboard was last edited
The table supports search and sorting, with pagination for large lists.
Adding dashboards: Use the search drop-down below the table to select dashboards to share with this group. Changes are staged in a pending list and saved in a single operation.
Removing a dashboard: Open the row's actions menu and select Remove from Group. This revokes access for all members of this group unless they have access via another group or by being the dashboard owner.
Dashboard Sharing
Dashboards can be shared from the dashboard drop-down menu or the dashboard card's Shared with Users section.


Cluvio's dashboard sharing model depends on your plan:
Pro Plan
On the Pro plan, each dashboard can be set to one of three share modes:
- Not shared — only the dashboard owner (and Admins) can view it
- All Users — all active users in the organization can view it
- All Analysts — all Admins and Analysts can view it


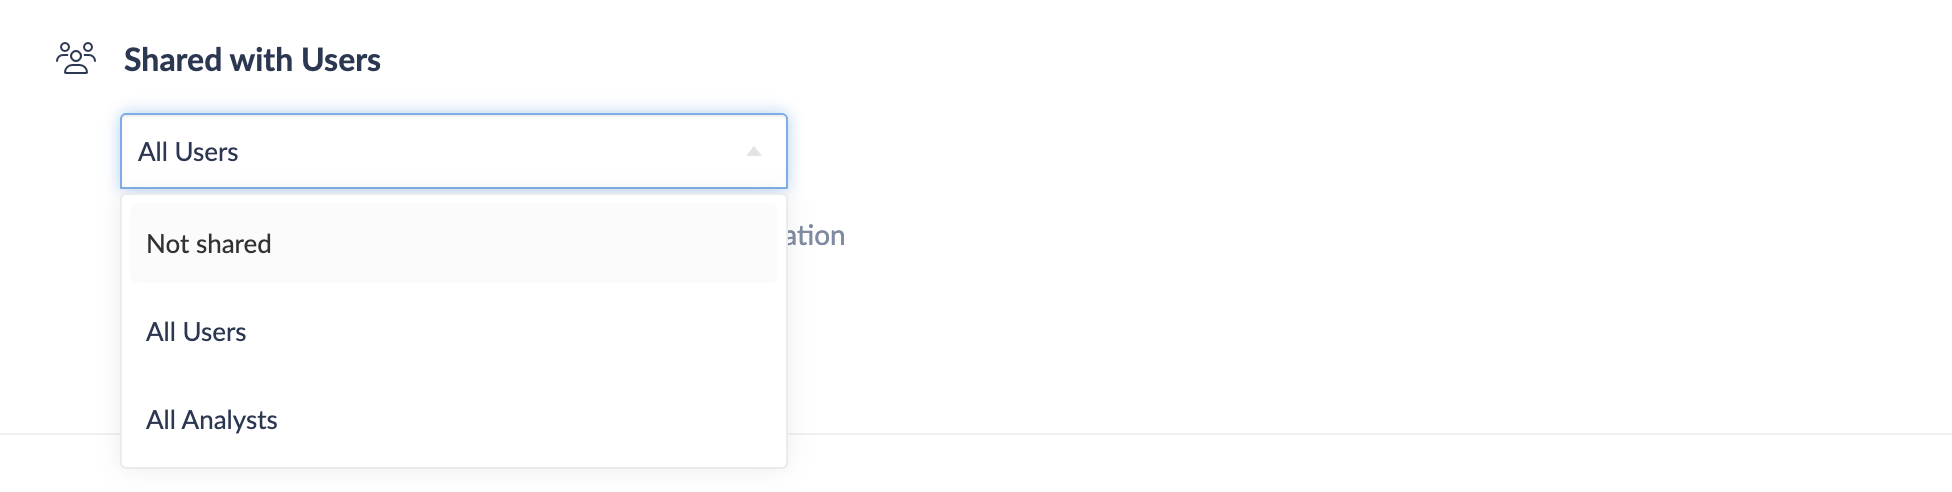
Select the desired option from the drop-down and save. The description below the drop-down explains the current or pending setting in plain language.
Business Plan
On the Business plan, each dashboard can be shared with any combination of custom user groups in addition to the built-in groups:


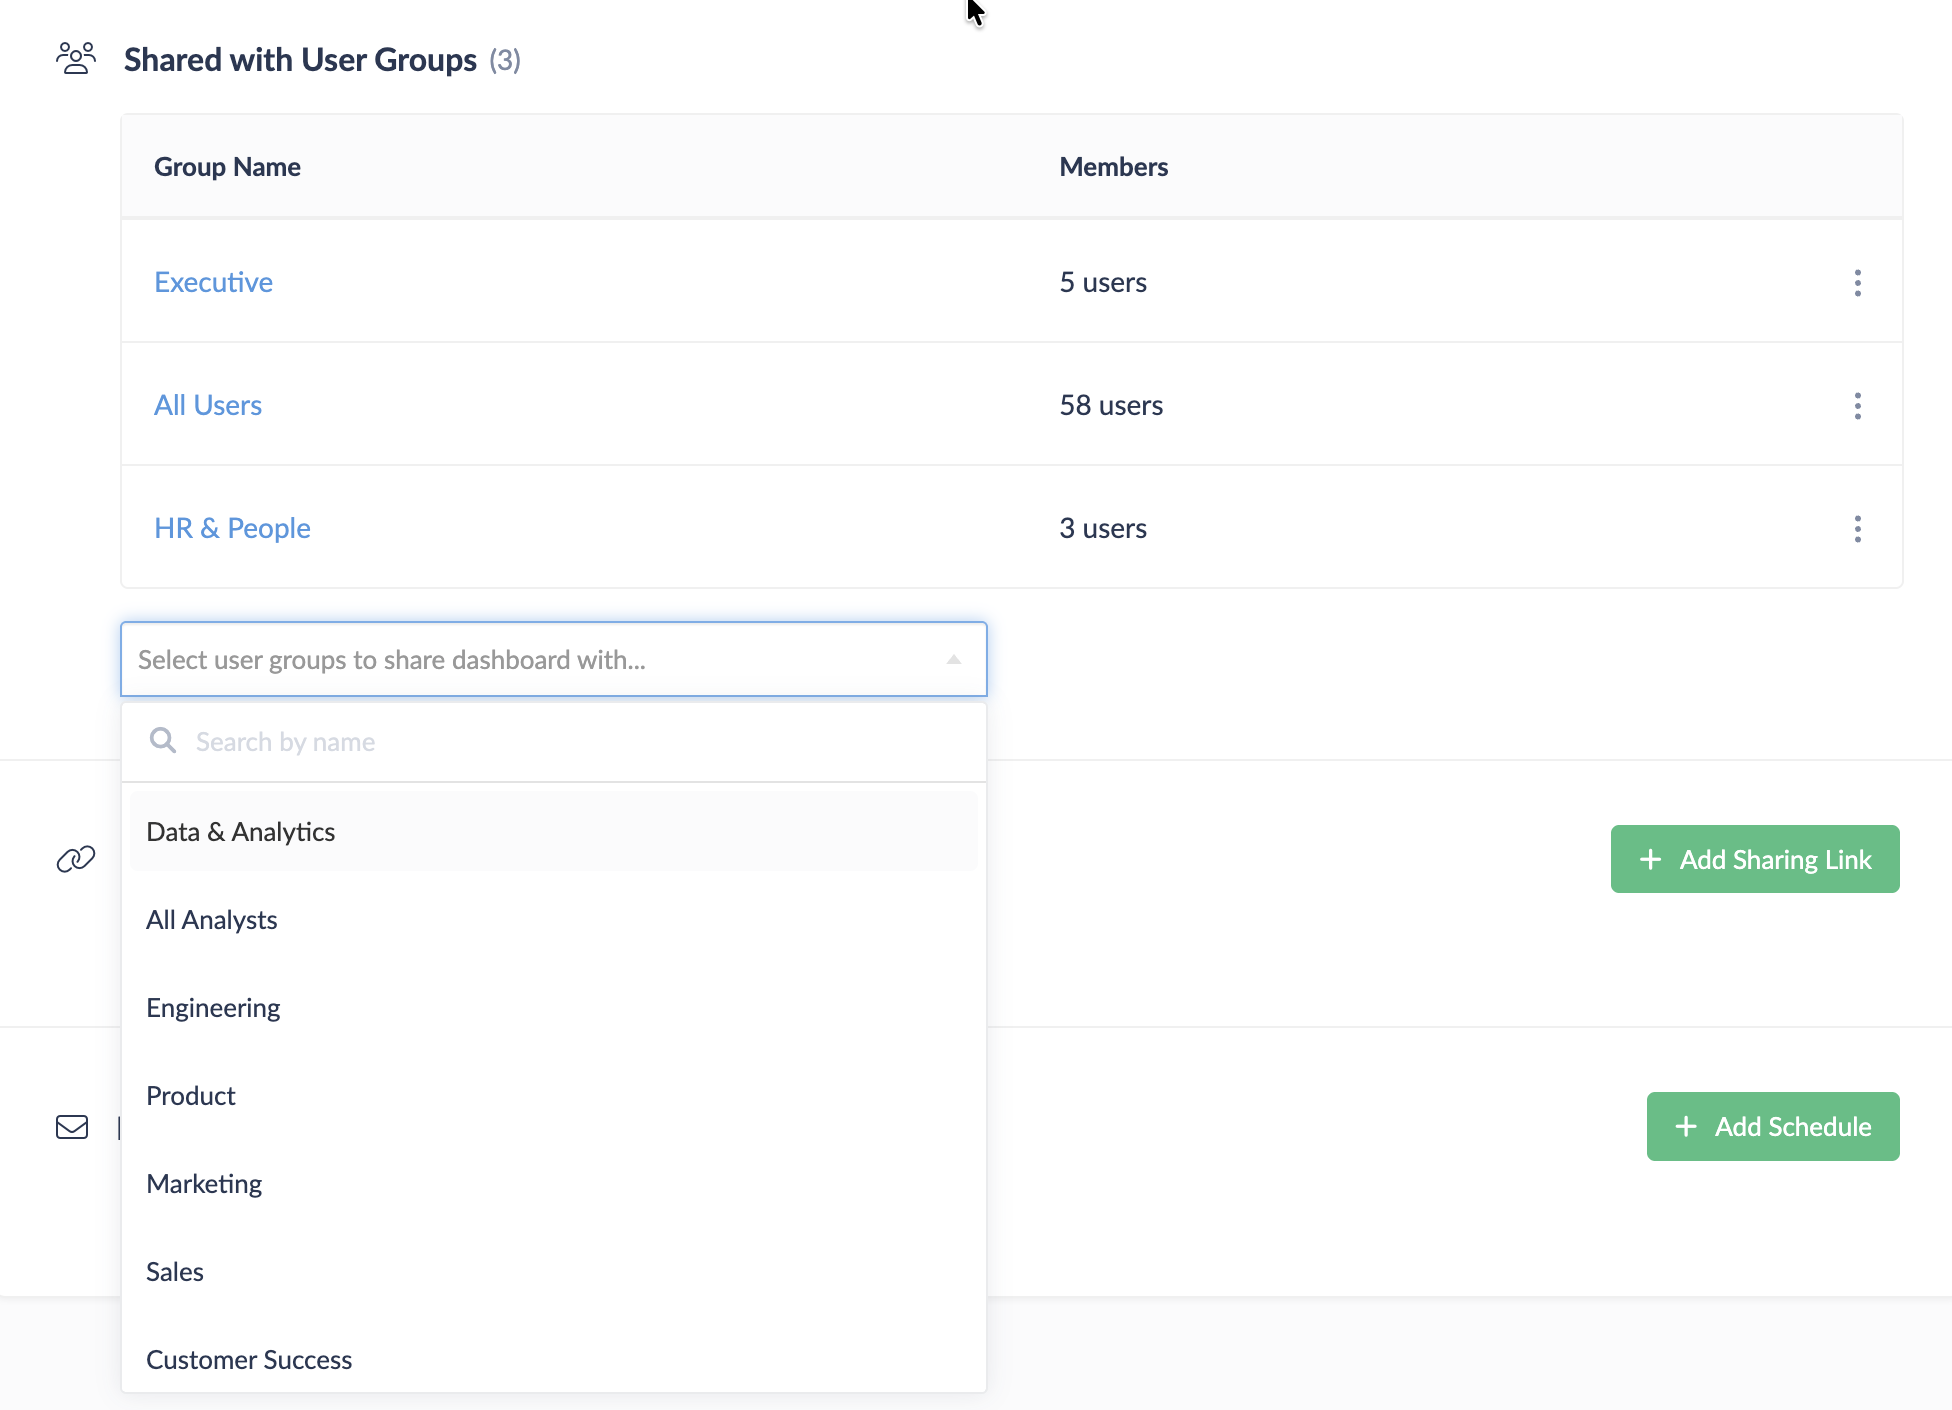
The Shared with User Groups section of the dashboard card shows every group the dashboard is currently shared with, along with the member count. To:
- Add a group — use the search drop-down below the table to stage groups, then Save.
- Remove a group — open the group row's actions menu and select Remove Sharing.
Sharing a dashboard with multiple groups grants access to the union of all group members.
Dashboard Card
The dashboard card is an admin detail view for a single dashboard. It is accessible by:
- Clicking a dashboard name in the Accessible Dashboards section of a user card
- Clicking a dashboard name in the Dashboards section of a user group detail page
The dashboard card contains four sections: Dashboard Details, Shared with User Groups (or Shared with Users on Pro), Sharing Links, and Email Schedules.
Dashboard Details
Shows the draft owner (for unpublished dashboards), creation date, and last updated time. An Open Dashboard button opens the dashboard in a new tab.
Sharing Links

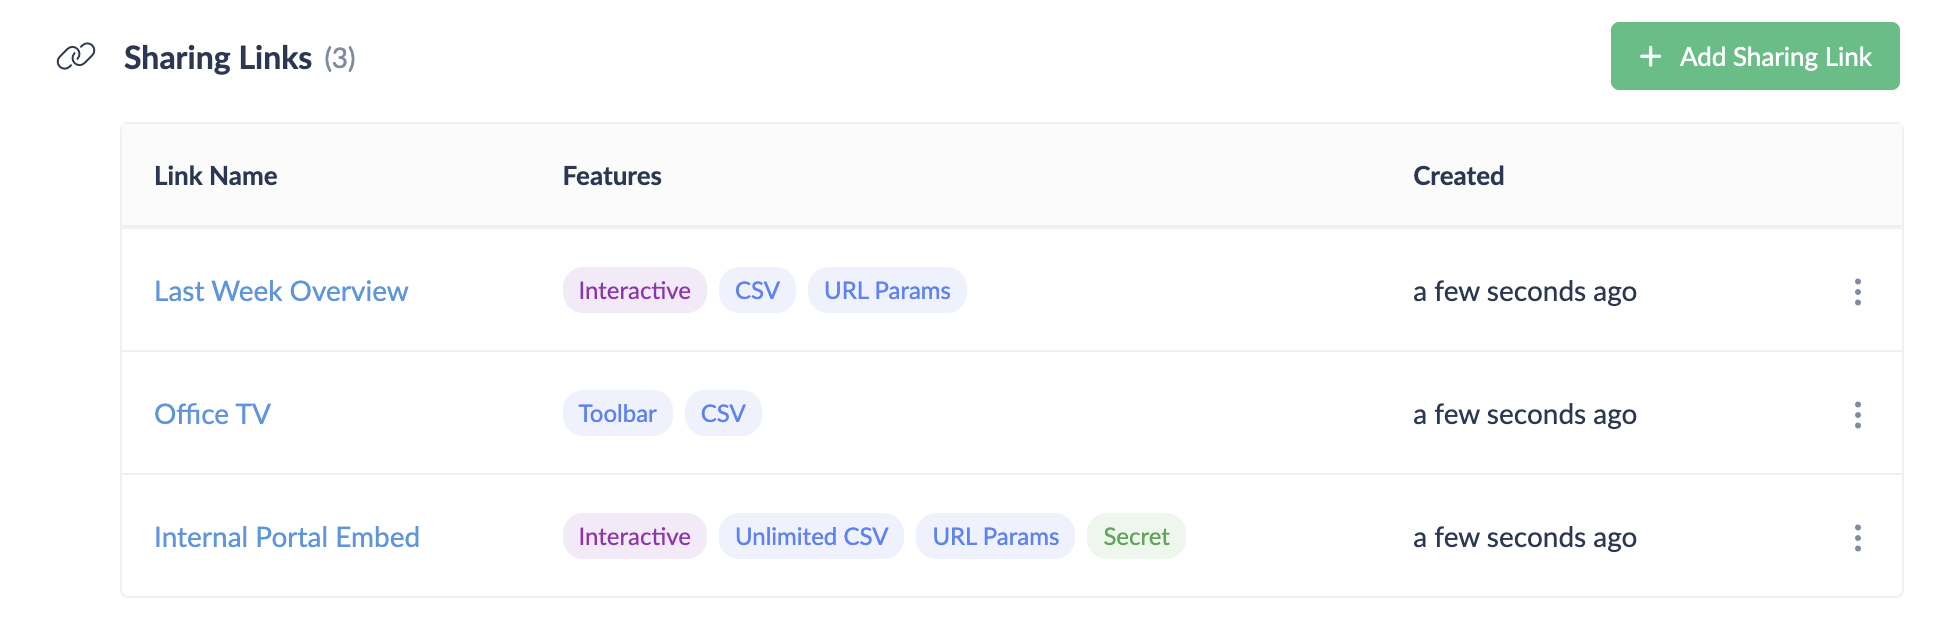
The Sharing Links section lists all sharing links configured for this dashboard. For each link you can see:
- Link Name — click to open the link's edit form
- Features — badges indicating active capabilities (Password, Interactive, Toolbar, CSV, Unlimited CSV, URL Params, IP Restricted, Secret, Expiration, Expired)
- Created — when the link was created
From the row actions menu you can Edit, Open in new tab, or Delete the link.
Use Add Sharing Link to create a new sharing link for this dashboard. The new link opens immediately in edit mode where you can configure its name, options, and restrictions.
For full details on sharing link configuration, see Sharing Links.
Email Schedules

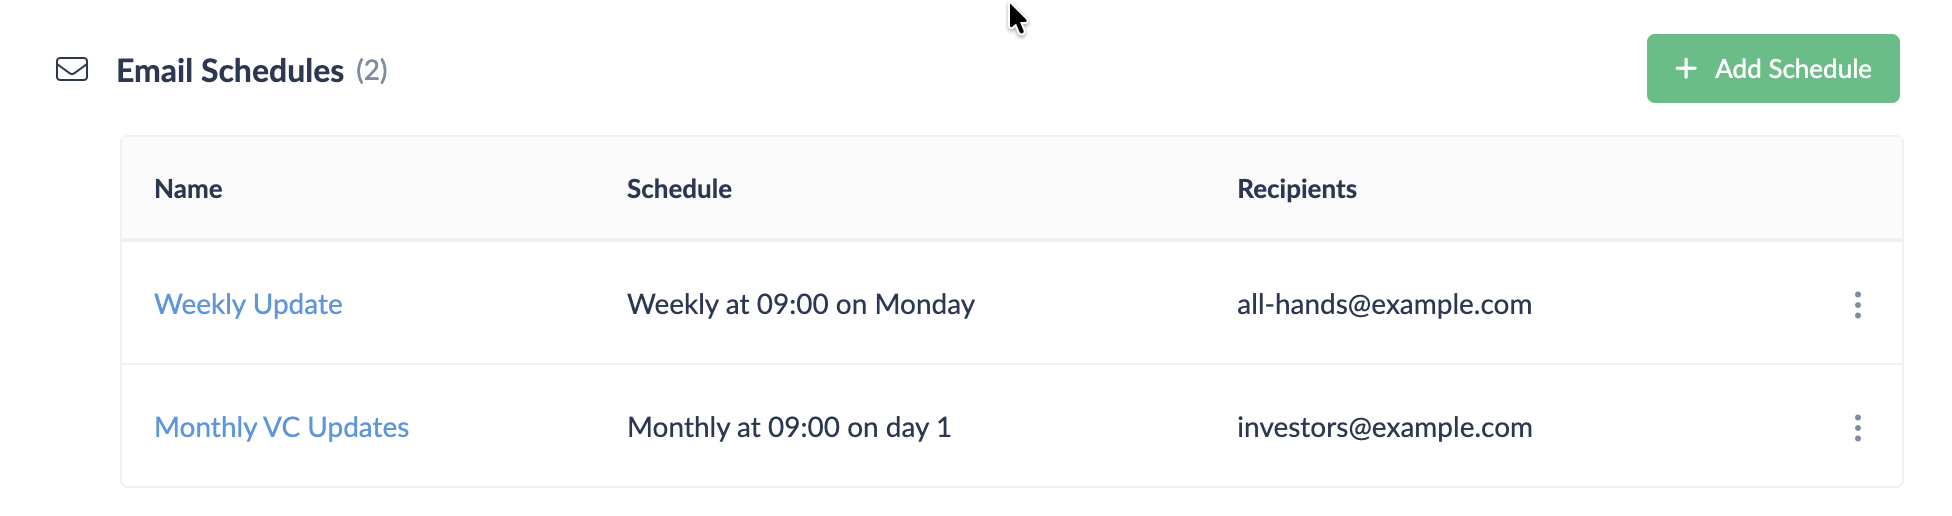
The Email Schedules section lists all scheduled emails configured for this dashboard. For each schedule you can see:
- Name — click to open the schedule's edit form
- Report — which report the schedule targets (if targeting a single report rather than the full dashboard); this column is only shown when at least one schedule has a report set
- Filters — whether the schedule uses custom filter values or the dashboard defaults; hover the info icon to see the specific filter values applied; this column is only shown when at least one schedule uses custom filters
- Schedule — the frequency (Disabled, Daily, Weekly, or Monthly) and timing
- Recipients — the email addresses receiving this schedule
From the row actions menu you can Edit or Delete the schedule.
Use Add Schedule to create a new email schedule for this dashboard. For full details on schedule configuration, see Scheduled Emails.
Checking Access
A common administrative task is verifying who can access a particular dashboard, or which dashboards a particular user can see.
Who can access a dashboard?
Open the dashboard card and review the Shared with User Groups section. This shows every group the dashboard is shared with. Click any group name to navigate to that group's detail page, where you can see its full member list.
Which dashboards can a user access?
Open the user's user card. The Accessible Dashboards section lists every dashboard the user can currently open and shows whether access comes from group membership, dashboard ownership, or admin-level permission.
Which groups is a user in?
The User Groups section of the user card lists all custom groups the user belongs to. You can also add or remove the user from groups directly from this view.